When developing an application, one of the most exciting things is to put it online. I particularly like to do this with most of the projects I work on, but there are always some doubts, such as: where will the application be located? What do I need to do to get my site working? Do I need to follow any methodology while still in the project to upload this application? How much does it cost to have my application online?
Currently, we have several fantastic and free options on the market to do this, such as GitHub Pages, Heroku, AWS and Vercel. Each of these services has its specific characteristics, pros and cons, but in this article, I will specifically talk about Vercel
What is Vercel?
Vercel is a platform focused on hosting applications in a very simple and fast way. It is known for being the creator of the Next JS framework, focused on React. As its website says, “Vercel is the best place to deploy any front-end application.”
Advantages of using Vercel
The main advantages of Vercel are free hosting, 50 available domains, 100GB of bandwidth, it works with more than 30 JAMSTACK frameworks (modern web development architecture based on client-side JavaScript), fast reload, SSL encryption, among others.
How to deploy
To deploy, it’s very simple! You can do this in just three steps. The deployment will be performed through an integration with GitHub. Therefore, it’s essential to have an account created on GitHub.
1. Create an account and log in
First, you must go to the Vercel website and click on the menu in the Sign Up. There will be three available options: login with GitHub, Gitlab, and Bitbucket.

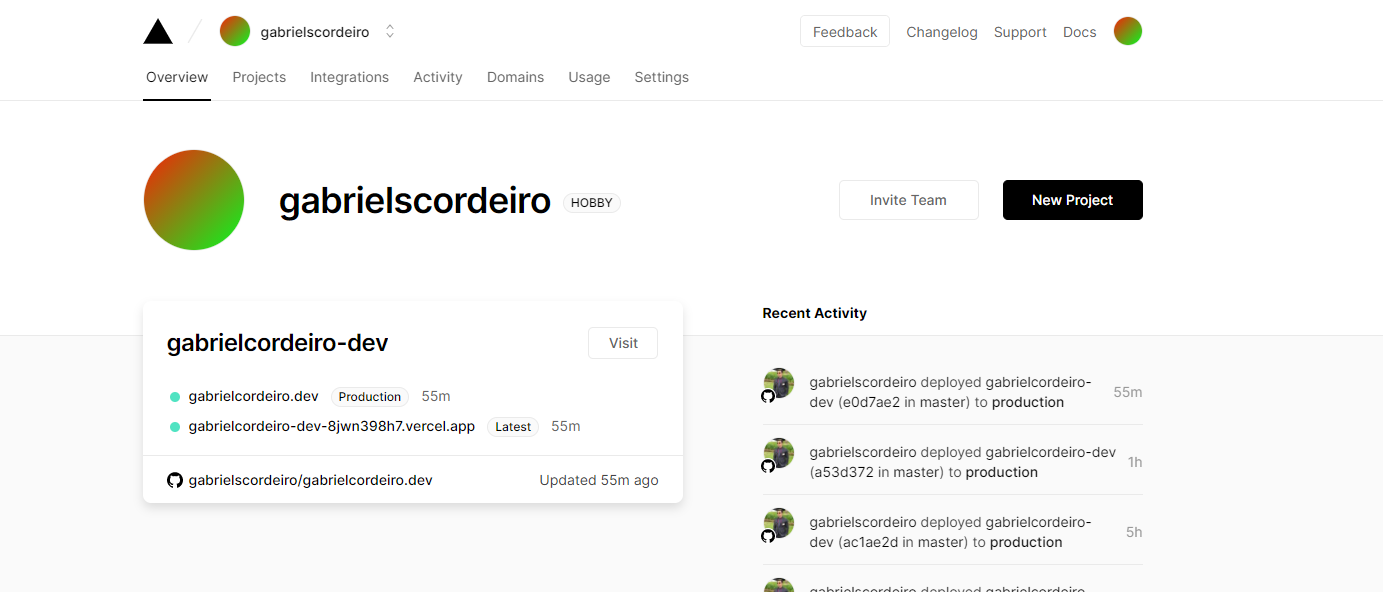
In my case, I logged in using my GitHub account, and this is the home screen after logging in.
2. Create a new project and import/clone a template
The next step is to create a new project (if you already have a project created) or import a project. In both cases, you will need to import the project or clone an existing template from Vercel.
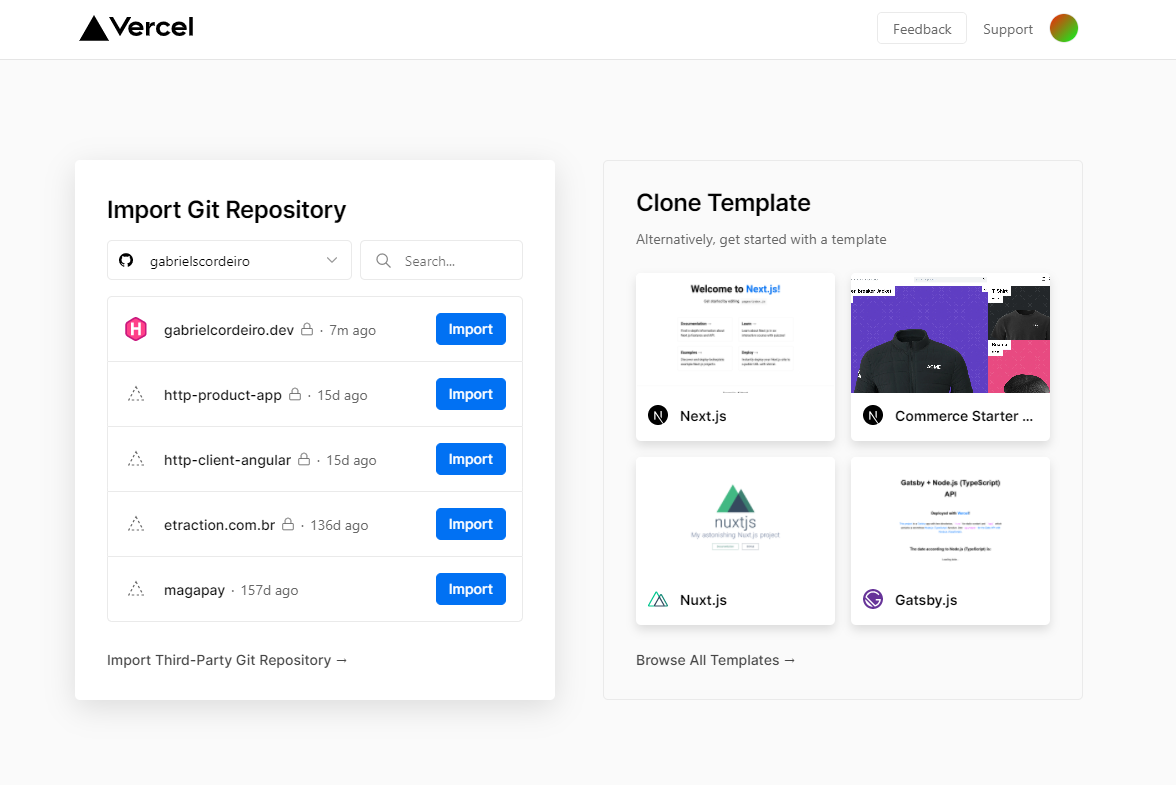
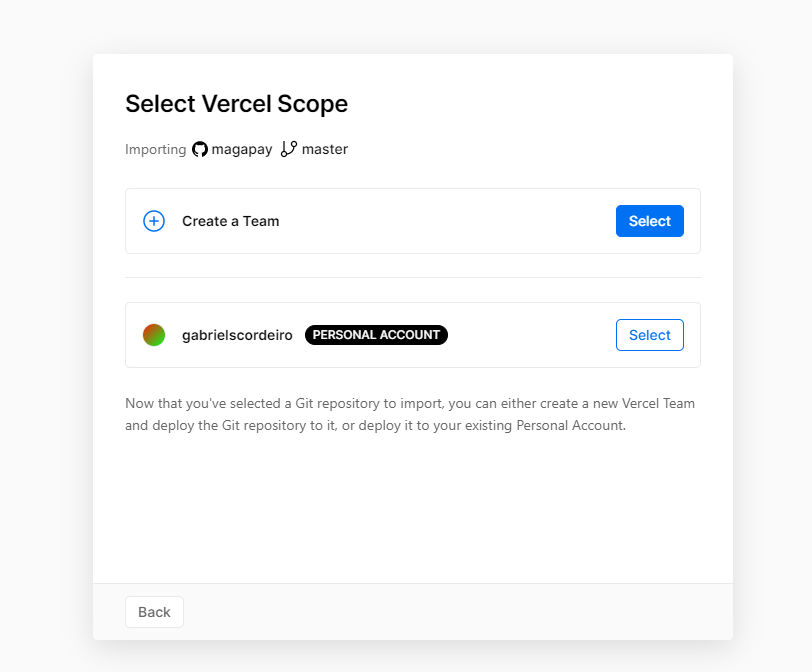
Select the desired project by clicking Import. After that, the account to import the project must be selected.
Now you will see the files of your project and should select in which folder the front-end code you want to use is located.
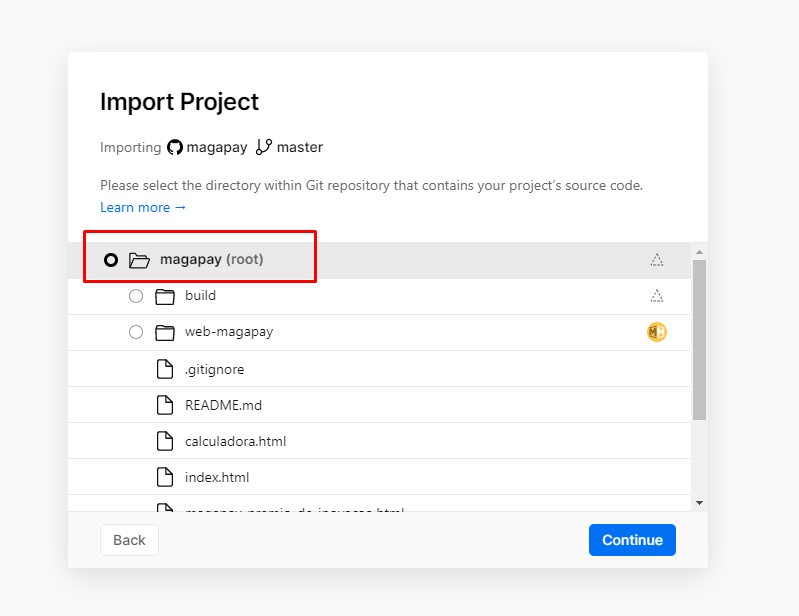
In my example project, the source code was in the root folder, so I just checked the first option and clicked Continue.
3. Project configuration
The last step is to perform the project’s settings. At this stage, you can choose the name of your project, and based on that, your domain will be created.
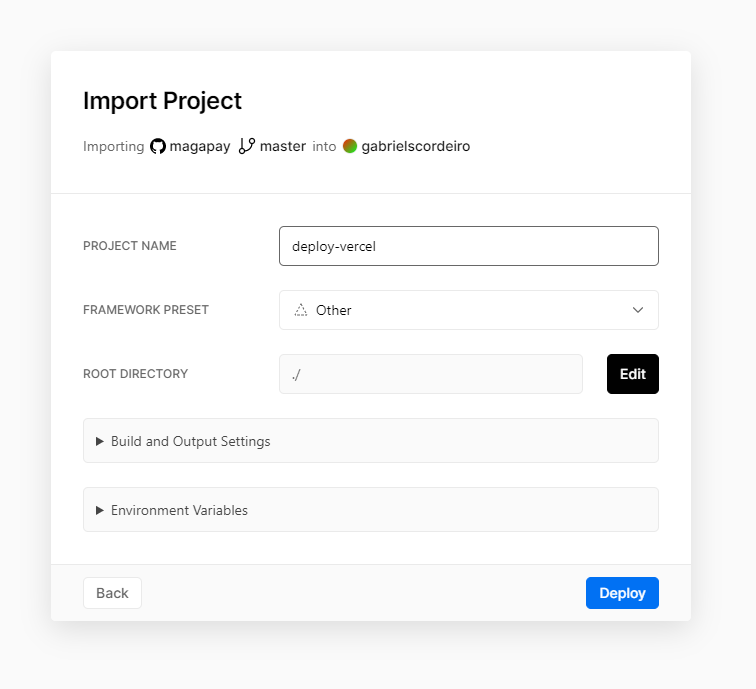
If you have used any framework, you should select it in the Framework Preset field. It’s also possible to define environment variables defined in the .env of your project. If you don’t have any, leave it blank.
Since I didn’t use any Framework in this project and didn’t have any environment variables, I left the Other option checked and didn’t fill out the other fields.
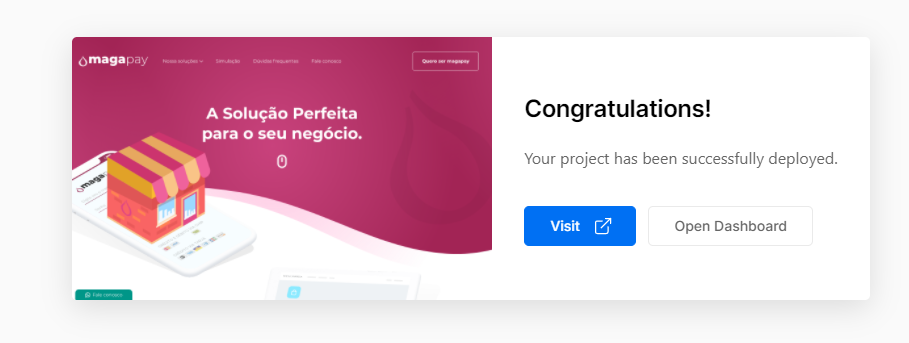
Click Deploy, and after that, the site will be processed for a few moments and will be online.
After that, click Visit to view your site. Simple, right?
One of the best features of Vercel is automatic deployment, meaning that every time you make a commit to your repository, Vercel will automatically deploy your site.
In the end, the URL of your site will look like: https://simple-deploy.vercel.app/